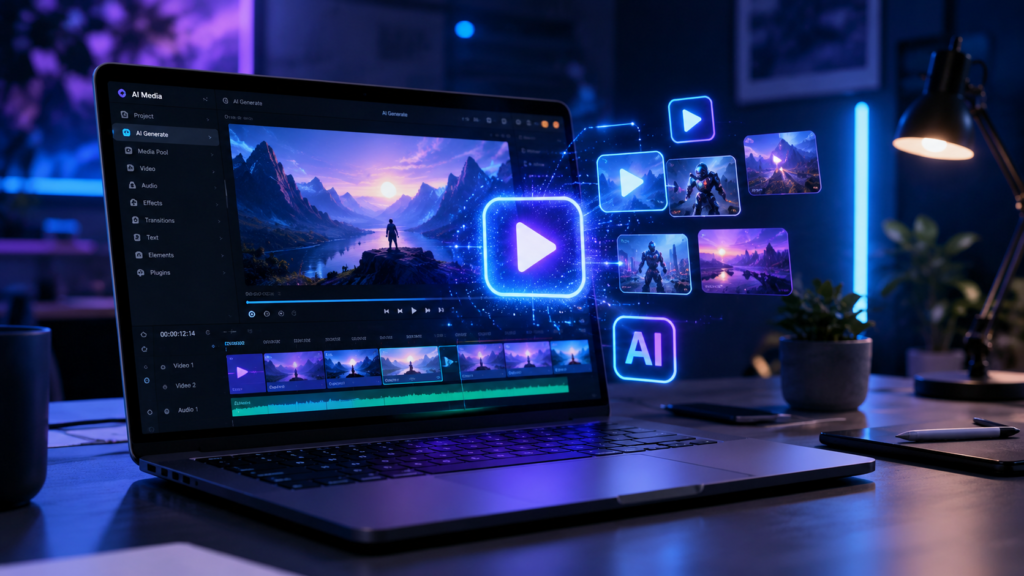
You don’t need a camera, a microphone, or any editing experience to publish a YouTube video anymore. With the right combination of AI tools, you can go from idea to finished, published video without ever picking up a camera. The key isn’t finding one magic tool that does everything — it’s treating AI like a small production studio, where each tool handles one specific stage. Here’s exactly how it works, step by step.
Step 1: Write Your Script First
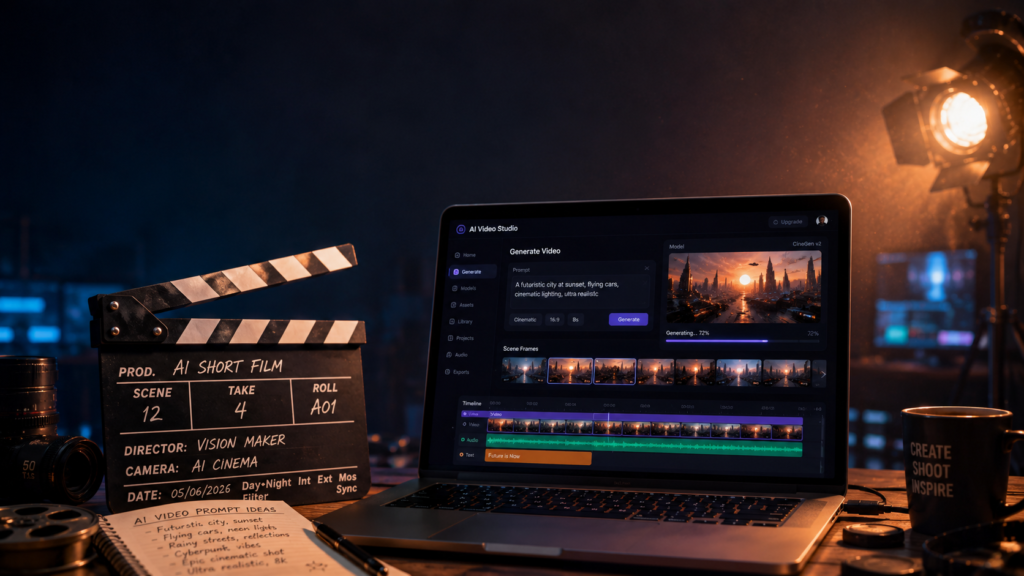
Every good AI video starts with a script, not a prompt. Trying to skip straight to video generation without a clear script usually produces disorganized, low-quality results. Use an AI writing tool like ChatGPT or Claude, and instead of asking it to “write a video about X,” give it more direction: your topic, your target audience, your tone (educational, casual, energetic), and a rough length. Treat this as a conversation — generate a draft, then ask the AI to tighten weak sections, cut repetition, or make the hook stronger.
Pro tip: Structure your script in clearly labeled sections — Hook, Introduction, Main Points, Conclusion, Call-to-Action — so you can feed each section into your visual and voice tools separately later.
Step 2: Generate a Natural-Sounding Voiceover
Once your script is solid, convert it into a voiceover using a text-to-speech tool. Modern AI voice tools now produce startlingly natural, human-like narration, a major improvement over the robotic voices from just a couple of years ago. Choose a voice that matches your video’s tone, and always preview a sample before generating your full script — an unnatural-sounding voice is one of the fastest ways to make viewers click away early.
Common mistake to avoid: Using a voice that’s too flat or monotone. If it doesn’t sound engaging as pure audio, it won’t work in a video either.
Step 3: Create Your Visuals
This is where your approach depends on your content style:
- Talking-head/avatar format: Use an AI avatar tool that combines a generated character with your voiceover audio, animating lip-sync automatically to match your narration — a popular format for faceless channels.
- B-roll/scene-based format: Use a text-to-video AI generator to create relevant scenes matching each section of your script, or combine AI-generated clips with royalty-free stock footage for a more polished, “produced” feel.
- Slideshow/explainer format: Use a script-to-video tool that automatically pulls relevant visuals and arranges them to match your voiceover pacing — often the fastest option for beginners.
Read More :- Best Free AI Video Editing Tools in 2026 (No Watermark)
Step 4: Assemble Everything Together
With your script, voiceover, and visuals ready, it’s time to bring them into one timeline. Most beginners can handle this using free AI-assisted editors, adding your voiceover as the base audio track, layering visuals to match each section, and adding background music at low volume underneath. Auto-generated captions are worth adding at this stage too — a large share of viewers watch with sound off, especially on mobile.
Step 5: Add the Finishing Touches
- Trim any awkward pauses or transitions between sections
- Add your channel logo or watermark for branding consistency
- Insert a clear call-to-action near the end (subscribe, comment, visit a link)
- Double-check that captions are accurately synced
Step 6: Export and Optimize for YouTube
Export your finished video in MP4 format at 16:9 aspect ratio for standard YouTube videos (or 9:16 if you’re also creating a Shorts version). Before publishing, write a clear, keyword-rich title, an SEO-friendly description, and design a thumbnail that accurately represents your content — misleading thumbnails hurt long-term channel trust even if they generate short-term clicks.
Important: Disclosure Requirements
YouTube requires creators to disclose when a video contains AI-generated or synthetic content, particularly if it depicts realistic people, places, or events that didn’t actually happen. Check the platform’s current AI content labeling requirements before publishing, since these policies continue to evolve.
The Real Difference Between Good and Bad AI Videos
The videos that actually perform well aren’t the ones using the most impressive AI tools — they’re the ones where a real person made deliberate creative decisions at every stage: a genuinely useful script, a natural voice, visuals that support the story rather than distract from it, and careful editing that removes anything unnecessary. Treat AI as your production crew, not your director.
Frequently Asked Questions
Can I make a full YouTube video without any editing skills?
Yes — most modern AI video tools are designed for complete beginners, with simple prompt-based workflows that don’t require prior editing knowledge.
Is it against YouTube’s rules to use only AI tools for a video?
No, but you must disclose when content contains AI-generated or synthetic elements, especially realistic depictions of people or events.
How long does it take to make a video using only AI tools?
A beginner can typically produce a short video (under 5 minutes) in 1-3 hours total, including scripting, voice generation, visual creation, and editing — much faster than traditional filming and editing.